This article explains how to create a flag icon with glance effect in GIMP (version 2.6.3, Windows).
For creating a flag icon with glance effect you need to install:
- GIMP - GIMP is the GNU Image Manipulation Program.
- layer-effects_24.scm - a set of layer effects script for GIMP
- webexport.exe - Save for Web plug-in for GIMP.
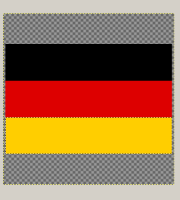
As example we will make a german national flag. We need to know 3 colors which are used in german flag:
- Black: #000000
- Red: #dd0000
- Gold: #ffce00
Open your GIMP. Go to File » New, set:
- Image Size:
- Width: 512px
- Height: 512px
- Advanced Settings:
- Fill with: Transparency
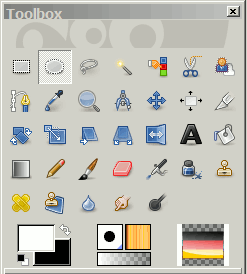
Be sure, you have opened the following windows:
- Toolbox window
- Layers window.
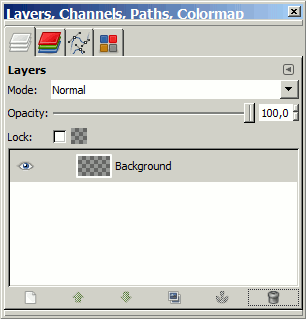
Now go to Layers Window and create new layer ( ![]() ), set:
), set:
- Layer Name: Flag
- Layer Fill Type: Transparency.
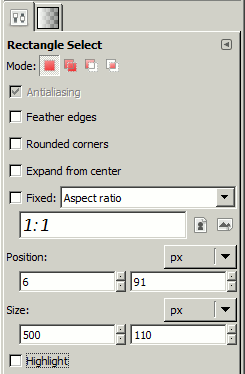
Click on Layer "Flag" in Layers Window to select it (make it active) and go to Toolbox Window. Click on Retangle Select Tool ( ![]() )and draw a retangle (any size). In Retangle Select tab (tab below tools in Toolbox Window) set:
)and draw a retangle (any size). In Retangle Select tab (tab below tools in Toolbox Window) set:
- Position: 6 x 91
- Size: 500 x 110.
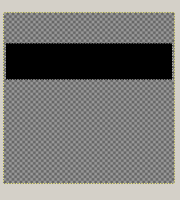
In Toolbox Window select Bucket Fill Tool ( ![]() ), set foreground color to #000000 and apply it on the retangle you have done.
), set foreground color to #000000 and apply it on the retangle you have done.
Now we will make next color: red. Click on Retangle Select Tool ( ![]() ) and draw a retangle (any size) below the black retangle. In Retangle Select tab set:
) and draw a retangle (any size) below the black retangle. In Retangle Select tab set:
- Position: 6 x 201
- Size: 500 x 110.
In Toolbox select Bucket Fill Tool ( ![]() ), set foreground color to #dd0000 and apply it on the retangle you have done.
), set foreground color to #dd0000 and apply it on the retangle you have done.
The same with gold color. Click on Retangle Select Tool ( ![]() ) and draw a retangle (any size) below the black retangle. In Retangle Select tab set:
) and draw a retangle (any size) below the black retangle. In Retangle Select tab set:
- Position: 6 x 311
- Size: 500 x 110.
In Toolbox select Bucket Fill Tool ( ![]() ), set foreground color to #ffce00 and apply it on the retangle you have done.
), set foreground color to #ffce00 and apply it on the retangle you have done.
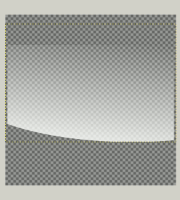
Now the basic flag is done. We make a glance effect now. Hide the "Flag" layer and create new layer called e.g. "Glance" and add into this layer new retangle (with Retangle Select Tool) and set:
- Position: 6 x 91
- Size: 500 x 330
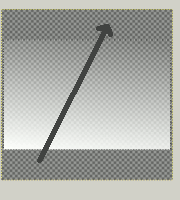
The "Glance" layer is active. Now we use a Blend Tool ( ![]() ). Click on Blend Tool (
). Click on Blend Tool ( ![]() ), set foreground color to #ffffff (white). Blend should be set to linear (this is a default value). In Gradients tab (tab below tools in Toolbox Window)
), set foreground color to #ffffff (white). Blend should be set to linear (this is a default value). In Gradients tab (tab below tools in Toolbox Window)
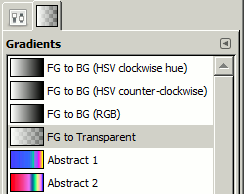
select FG to Transparent and apply it on the retangle you have done.
Now click on Ellipse Select Tool ( ![]() ) and make an ellipse over the retangle.
) and make an ellipse over the retangle.
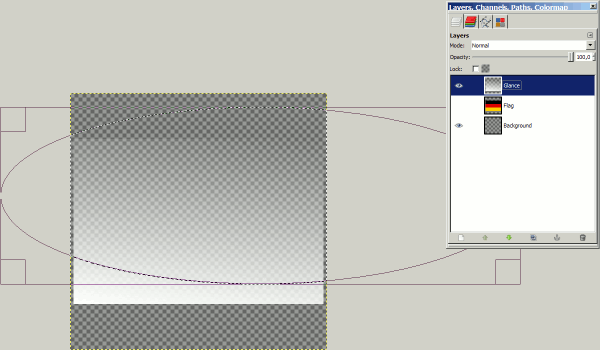
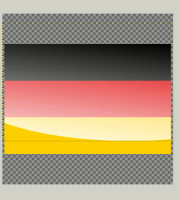
Press CTRL + C (copy) and CTRL + V (paste). Now new layer should be created. Rename it e.g. to "Glance2". You can remove or hide the old layer "Glance". If you will display layer "Flag" then you will se the effect on the flag.
Finally we will apply Inner Glow and Outer Glow effects. Select the "Flag" layer as active layer. Go to Script-Fu » Layers Effects » Inner Glow and set:
- Glow Color: #ffffff
- Glow Radius: 2
- Blur Radius: 6
- Glow Layer Mode: normal
The same with Outer Glow. Select the "Flag" layer as active layer. Go to Script-Fu » Layers Effects » Outer Glow and set:
- Glow Color: #111111
- Glow Radius: 2
- Blur Radius: 6
- Glow Layer Mode: normal
Go to File » Save for Web, select PNG 24, size 512 x 512 (or e.g. 256 x 256, 48 x 48) and save your image. Now your flag should be created. Don't forget to save the file as .xcf (GIMP format with layers) for future editing.
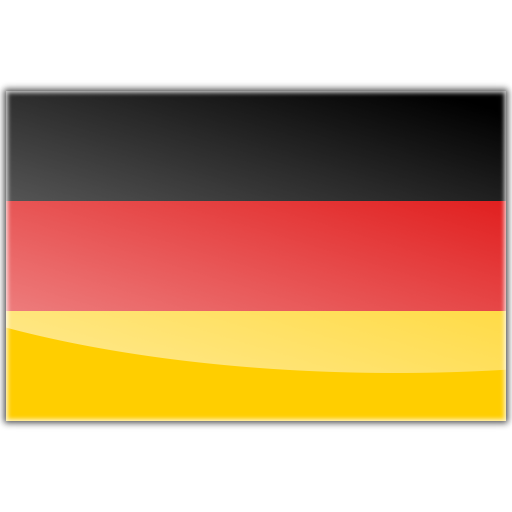
See created flags.
German flag:
Czech flag: